Your cart is currently empty!
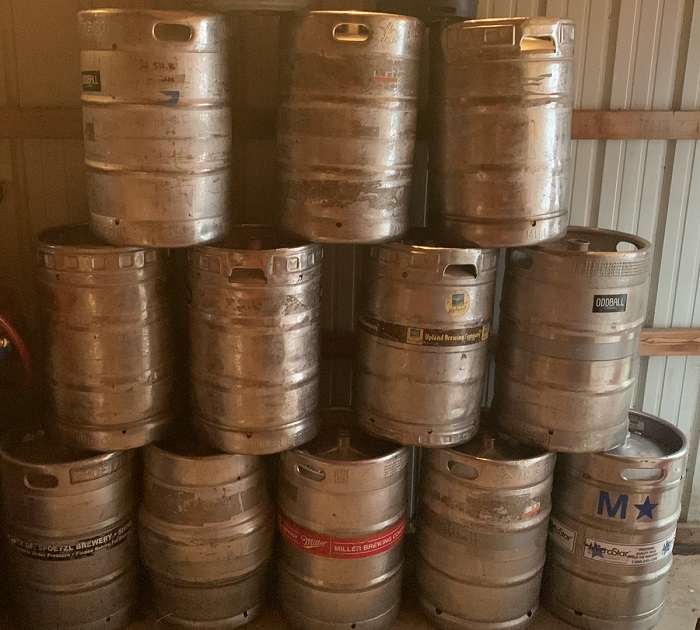
How To Remove The Spear in a Keg
Your Keg Still Journey Begins: How to Safely Remove a Keg Spear
So, you’ve got your hands on a stainless steel keg and a vision of the beautiful still it’s destined to become. Fantastic! Before you can start cutting, soldering, and attaching a column, you need to tackle the very first, and most crucial, step: removing the internal spear.
The spear, or dip tube, is the long metal tube assembly inside the keg that allows beer to be drawn from the bottom and pushed out by gas pressure. It’s held in place by a sturdy retaining ring. This guide will walk you through how to safely de-pressurize the keg and remove this assembly with just a couple of basic tools. Let’s get that boiler prepped!
Safety First: ALWAYS De-pressurize the Keg
Before you even think about removing the spear, you must ensure the keg is completely de-pressurized. Even an “empty” keg can hold residual CO2 pressure, which can turn the spear into a dangerous projectile if you try to remove it prematurely.
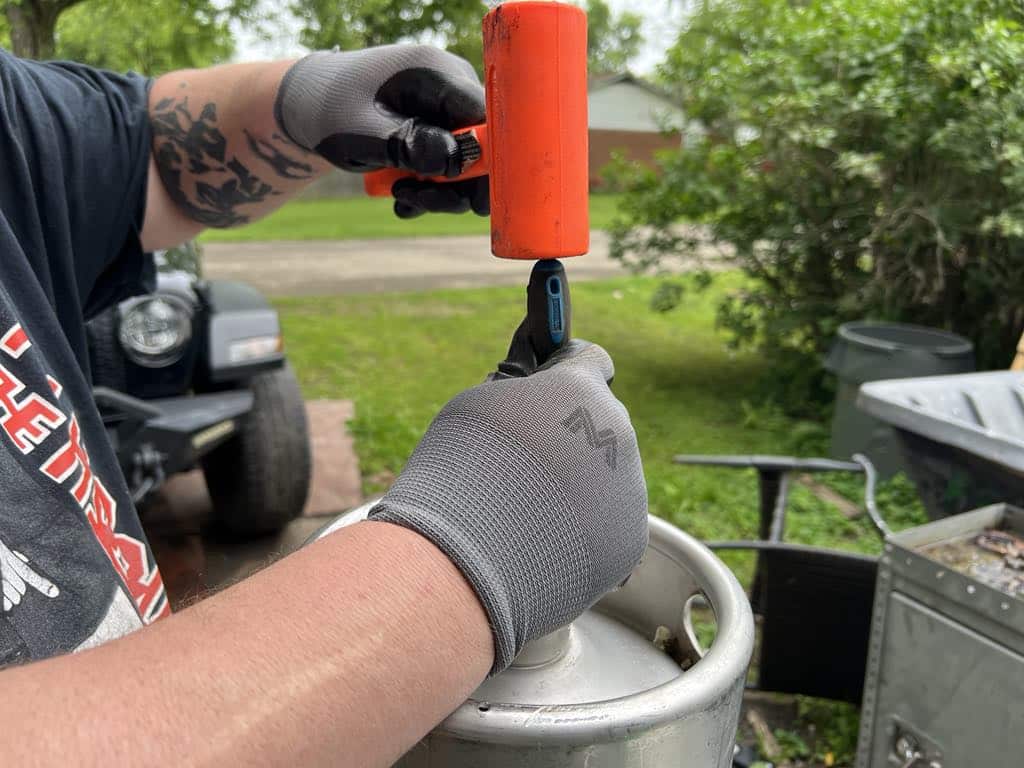
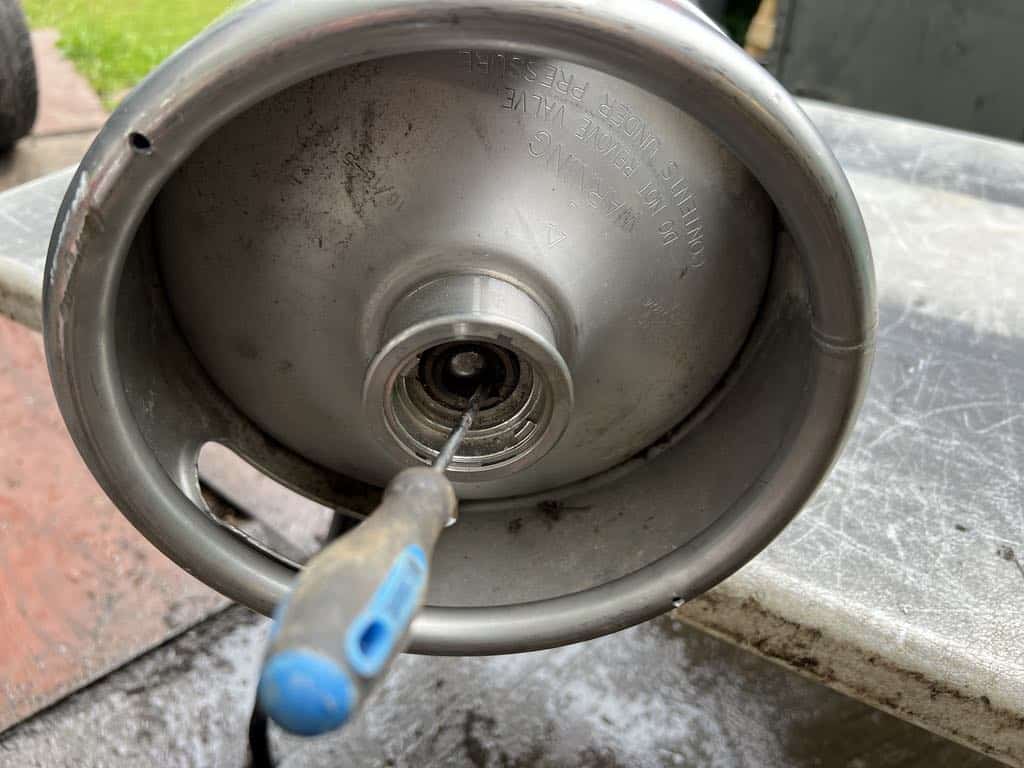
Release the Pressure: In the very center of the keg’s top fitting (the coupler), you’ll see a small metal ball. This is the check valve. Point the keg opening away from your face and body. Now, firmly press down on that ball with your screwdriver. You will likely hear a hiss of escaping gas. Keep pressing until the hissing stops completely. Push it a few more times just to be certain all the pressure is gone.
Protect Yourself: Put on a pair of safety glasses. The contents can spray unexpectedly, and you don’t want a face full of stale, nasty beer, or worse, an eye injury.
Grab Your Tool: You’ll need a sturdy screwdriver (a flathead works well) or a similar blunt tool.
The Tools for the Job
One of the great things about this part of the project is its simplicity. You don’t need a high-tech workshop.
- A sturdy flathead screwdriver: This will be your primary prying tool.
- A hammer or mallet: For providing a little “persuasion” when needed.
- Safety glasses and gloves: Non-negotiable for protecting yourself.
Step 1: Defeat the Retaining Ring
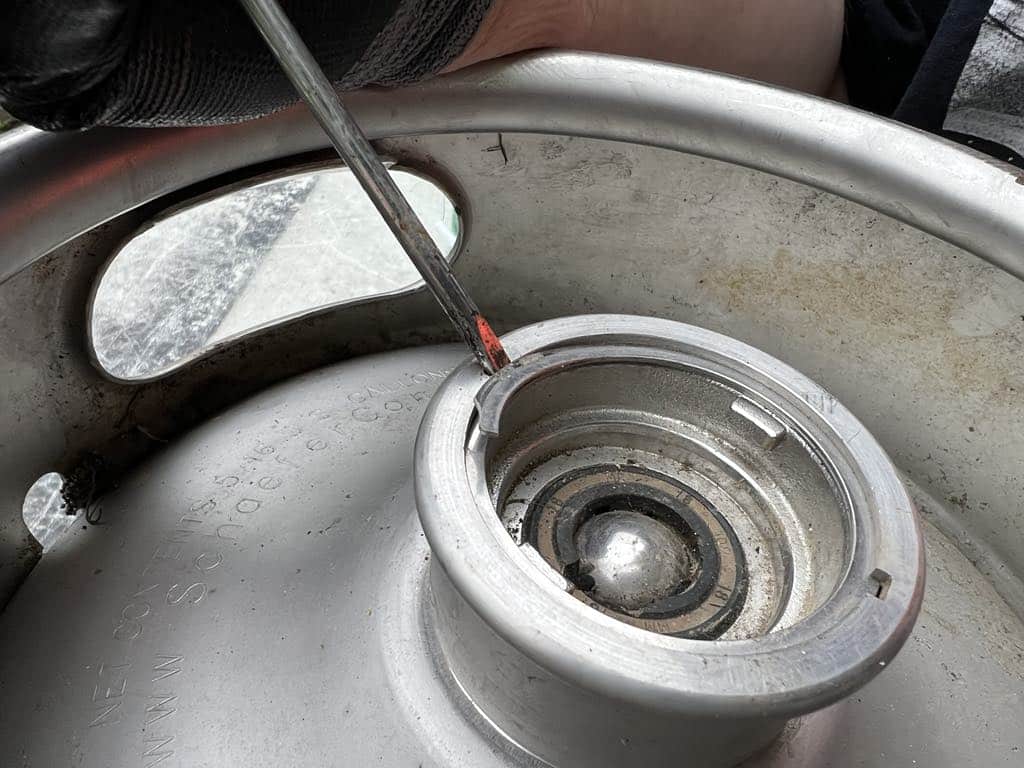
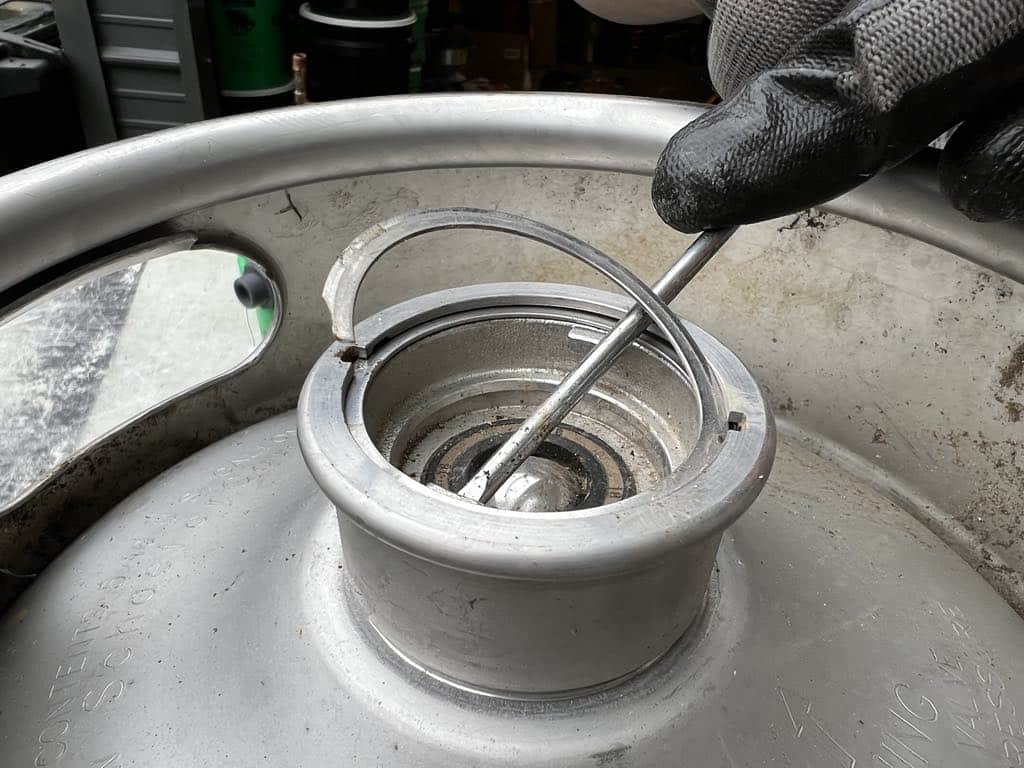
The spear is held in place by a coiled, spring-like metal retaining ring that sits in a groove inside the keg’s neck (this neck part is called a ferrule). Your job is to pry this ring out.
Work Your Way Around: Once you have the end of the ring started, slide your screwdriver underneath the lifted portion. Now, simply work the screwdriver around in a circle, following the spiral of the ring. The ring should lift out of its groove easily as you go. Once it’s free, set it aside.
Locate the Starting Point: Look closely at the retaining ring. You’ll see it’s a spiral with two small tabs or ends. You want to start at the tab located at the beginning of the spiral, on the outer edge.
Get a Foothold: Place the tip of your flathead screwdriver into the small gap next to this starting tab. Your goal is to get the screwdriver tip behind the ring.
Pry it Out: If the ring is stubborn, you can angle your screwdriver and give the handle a firm but controlled tap with your hammer. This should bend the end of the ring forward and up, out of its groove. Be patient and work it slowly; you don’t want to damage the keg’s ferrule.
Step 2: Align and Remove the Spear
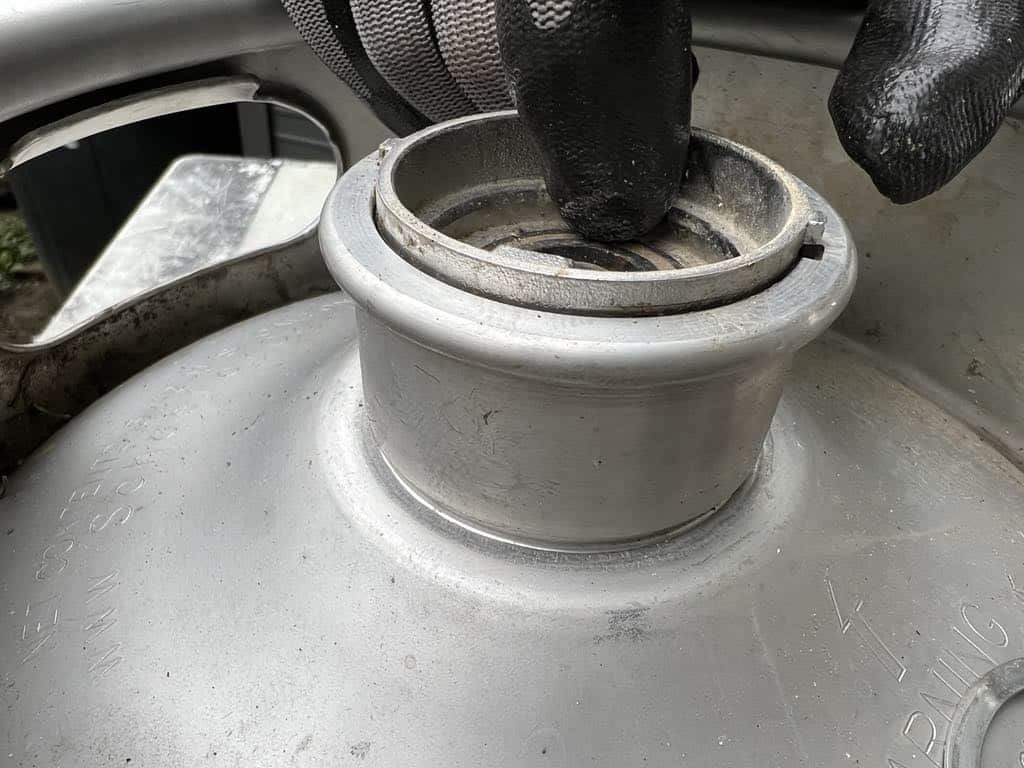
With the retaining ring gone, the spear is now free, but it won’t just pull straight out. It has two locking tabs that fit into two corresponding notches on the inside of the ferrule.
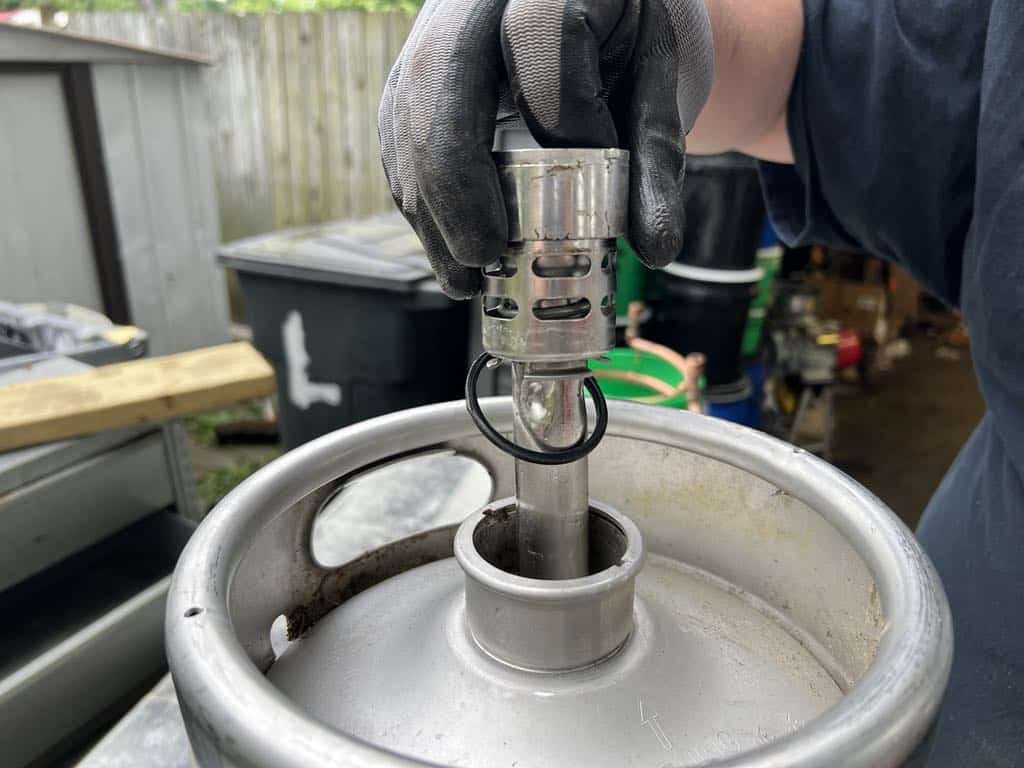
Lift It Out: Once aligned, the spear should pull straight out. It’s long, so keep pulling! Congratulations, the heart of the old keg is now removed.
Find the Alignment: Grab the top of the spear and try to rotate it by hand. You’re trying to line up the spear’s tabs with the ferrule’s notches. You’ll often feel it “settle” into place when they are aligned.
When It’s Stuck: If the spear is gummed up with old beer residue and won’t turn by hand, don’t worry. Just grab your trusty screwdriver and hammer again. Place the screwdriver tip at an angle against one of the solid tabs on the spear and give it a few taps with the hammer to gently force it to rotate until the tabs align with the notches.
Step 3: The Big Clean-Up
Now you’re left with an empty stainless steel shell, but it’s likely coated with years of old gunk. Getting it perfectly clean now is critical for ensuring your future spirits taste pure.
- The Quick and Easy Rinse: The easiest first step is to take it to a self-serve car wash. The high-pressure sprayer is perfect for blasting out the majority of the loose grime. A pressure washer or even a strong jet nozzle on a garden hose can also do the trick.
- For the Nasty, Caked-on Gunk: Sometimes, you’ll get a keg with some seriously stubborn, dried-on residue. The ultimate solution for this is to use heat.
- Place the keg on a stable outdoor turkey burner.
- Fill it about halfway with water.
- For a simple, effective scrub, dump a generous amount of salt into the water. The saltwater solution is abrasive and boils at a slightly higher temperature. (Alternatively, a scoop of a brewing-specific cleaner like PBW or a hot citric acid solution works wonders).
- Bring the water to a rolling boil and let it cook for an hour. This will break down even the most resilient buildup.
- BE CAREFUL! You are handling a large vessel of boiling water. Let it cool down significantly before attempting to move or empty it.
After your deep clean, give it one final rinse with fresh water and inspect the inside. It should be bare, shiny, and ready for the next stage of its transformation.
You’ve successfully prepped your boiler! Now comes the fun part: planning your cuts and building your column.
Kegs
Recommended products
-
15 Gallon Keg
$124.99 -
5 Gallon Slim Keg
$74.99 -
7 Gallon Pony Keg
$124.99 -
2″ Single Sided Keg still Gaskets Pack of 3
$8.99


Leave a Reply