Your cart is currently empty!
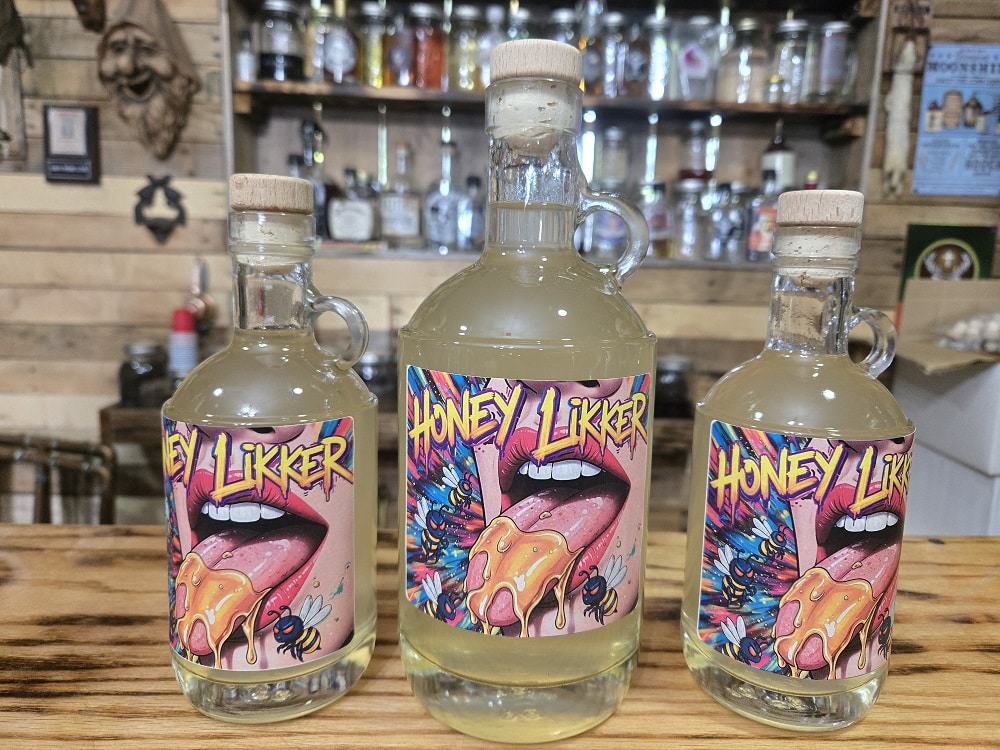
How To Make Honey Liqueur Barenjager
PhilBilly’s Honey Liqueur Recipe
Bärenjäger is a popular German honey liqueur with a rich history. While its exact recipe is a proprietary secret, it’s known to be made with a neutral grain spirit, a generous amount of real honey, and a blend of natural spices. The good news is you can create a delicious Bärenjäger-style honey liqueur at home!
- Yields: Approximately 2 Quarts
- Prep time: 10-15 minutes
- Infusion/Resting time: At least 24 hours, up to several weeks for more complex flavor
Ingredients
- Honey: 1 Pound or 2 cups (use 1 to 1.5 cups if you prefer it less sweet).
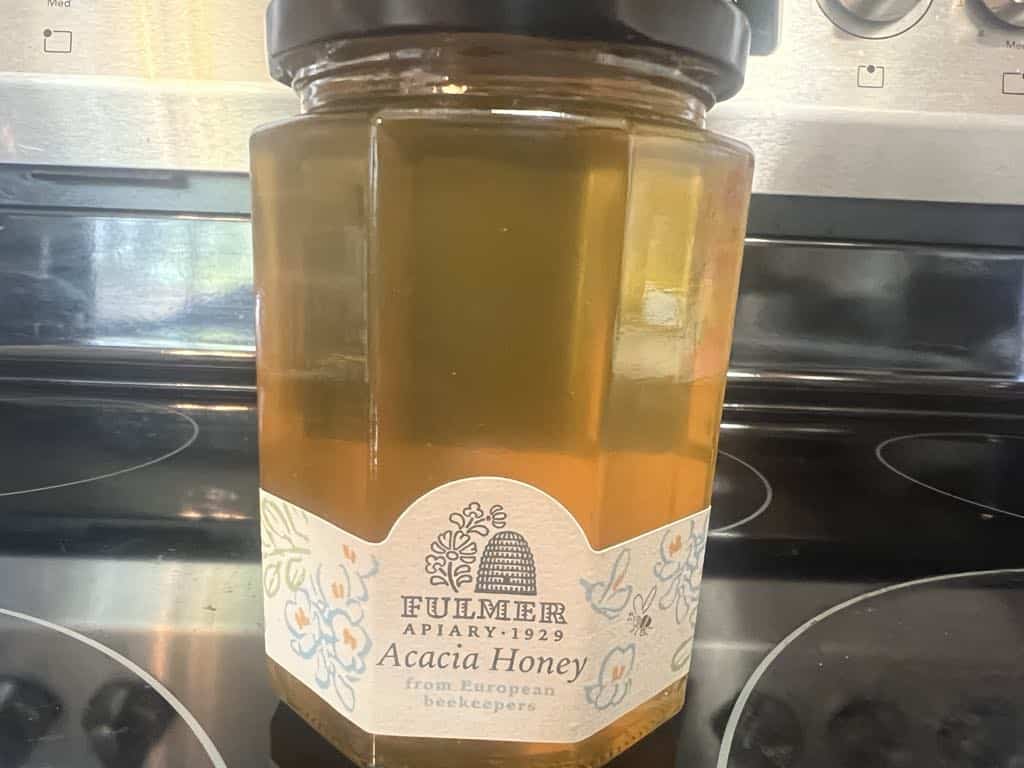
- For a neutral base: Use mild honey like Clover or Acacia.
- For more character: Use Wildflower, Orange Blossom, or other artisanal honeys. Consider using fewer additional spices if your honey is already very flavorful.
- Neutral Grain Spirit or Vodka: 1 Quart of good quality, 80-100 proof (40-50% ABV).
- Water: 1 Pint (or more if you want to dilute to a lower proof).
- Optional Spices & Flavorings:
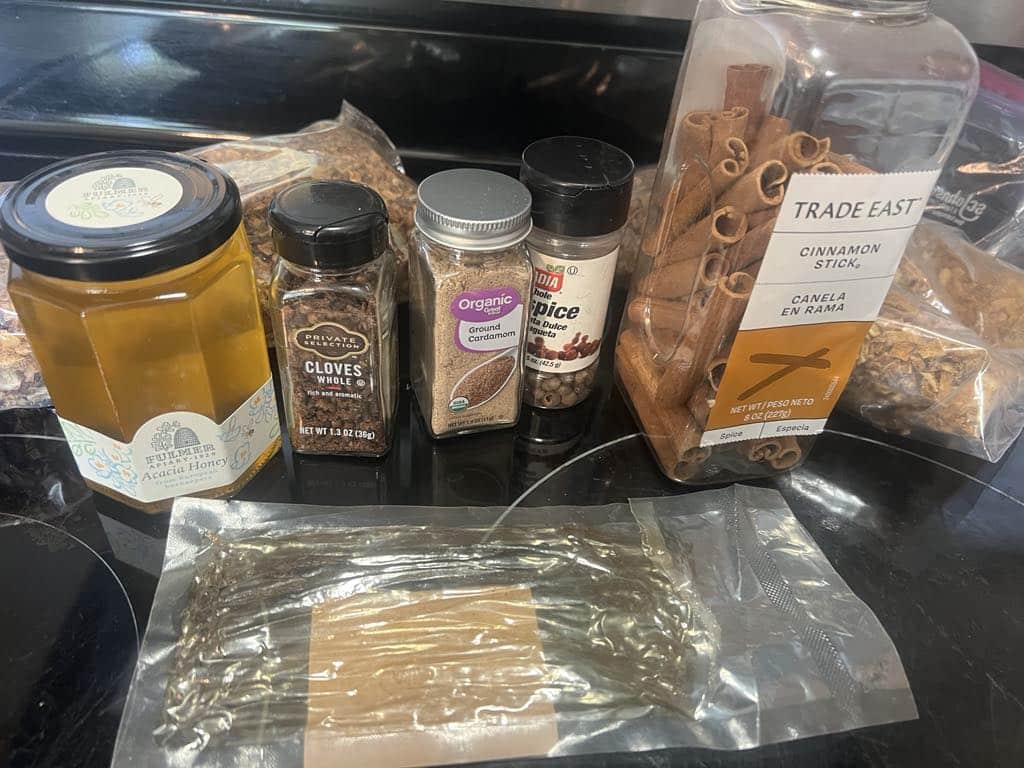
- 2 whole cloves
- 1 small cinnamon stick (or 1/2 teaspoon ground cinnamon)
- A small pinch of allspice (ground or 3 whole berries)
- A tiny pinch of ground cardamom
- 1-2 thin strips of orange zest (pith removed)
- 1-2 thin strips of lemon zest (pith removed)
- 1/4 – 1/2 vanilla bean, split and scraped (or 1/4 teaspoon pure vanilla extract, added after cooling)
Equipment
- Saucepan
- Whisk or spoon
- Two (2) clean glass quart-sized mason jars with tight-fitting lids
- Fine-mesh sieve or cheesecloth for straining
Instructions
- Create the Honey Syrup:
- In a saucepan, combine the honey and water.
- If using whole spices (cinnamon, cloves, allspice berries) and citrus zest, add them to the pot now.
- Gently heat over medium-low, stirring until the honey fully dissolves. Do NOT bring to a rolling boil.
- If using ground spices, whisk them in at this stage.
- Once dissolved, remove from heat.
- Cool the Syrup:
- Let the honey syrup cool completely. Allow any whole spices and zest to steep in the syrup as it cools (at least 15-30 minutes) to infuse their flavor.
- Scrape off any foam that may have formed.
- Combine with Alcohol:
- Once the syrup is completely cool, strain it through a fine-mesh sieve or cheesecloth into your clean glass jar. This will remove any whole spices and zest.
- Pour the neutral grain spirit or vodka into the jar with the cooled, strained honey syrup.
- If using vanilla extract, add it now.
- Infuse and Rest:
- Seal the jar tightly and shake well to combine.
- Store the jar in a cool, dark place.
- Let it rest for a minimum of 24-48 hours. For a more complex flavor, let it rest for 1-4 weeks, shaking the jar gently every few days.
- Taste and Adjust (Optional):
- After resting, taste the liqueur.
- If it’s too sweet, add a little more spirit.
- If it’s too strong, add more cooled honey syrup or a bit of distilled water to dilute.
- Strain (Again, If Needed) and Bottle:
- For exceptional clarity, strain the liqueur again through a sieve lined with cheesecloth or a coffee filter.
- Pour into a clean bottle with a tight-fitting lid or cork for final storage.
Tips for Success
- Quality of Honey: This is the star ingredient. Using good quality, flavorful honey will make a big difference.
- Spice Level: Start with fewer spices. You can always add more, but you can’t easily take them out.
- Patience: The longer the liqueur rests, the smoother and more harmonious the flavors will become.
- Experimentation: Feel free to adjust the honey-to-alcohol ratio to your preference and experiment with different honey types or spice blends.
- Storage: Store in a cool, dark place. It can last for several months. If you used fresh zest, storing it in the refrigerator is a good option for longevity.
Enjoy your homemade Bärenjäger-style honey liqueur neat, on the rocks, in cocktails (like a Bee’s Knees or a Hot Toddy), or even as a glaze for desserts!
When planning your keg still build, selecting the right type of ferrule is a crucial early step, as it will significantly influence how you construct your column. Let’s break down the options for your keg still project:
Copper Ferrules for Your Keg Still:
- Pros: Soldering a copper ferrule to a copper pipe for your keg still is generally a straightforward process.
- Cons: Copper ferrules tend to be more expensive and can sometimes be harder to source than their stainless steel counterparts.
- Soldering: If you choose a copper ferrule for your keg still, you can use a standard flux designed for copper-to-copper connections. I typically recommend water-soluble options like Harris Water Soluble Flux or Oatey No. 5 Flux.
Stainless Steel Ferrules for Your Keg Still:
- Pros: Traditionally, many keg still builders opt for stainless steel ferrules. They are very affordable, widely available, and known for their ruggedness and durability, making them a robust choice for your keg still.
- Cons: Soldering stainless steel to copper requires a specific approach.
- Soldering Stainless to Copper for Your Keg Still: This is where the right materials are key. If you plan to attach a stainless steel ferrule to a copper pipe for your keg still, the secret lies in the flux. Standard solder (lead-free, of course) will work; we recommend brands like Silvabrite 100, Oatey No. 5 Lead-Free Solder, or Sterling Lead-Free Solder. However, you must use a specialized stainless steel flux. Our kit includes Ruby Fluid Stainless Steel Soldering Flux, which is designed for this exact purpose when building your keg still.
Important Soldering Tip for Your Keg Still:
Regardless of the ferrule material, always use a new solder brush for applying flux. These are inexpensive (usually under a dollar). Critically, if you’re using a special flux like Ruby Fluid for stainless steel, never use that same brush with other types of flux, as cross-contamination can hinder your soldering success on your keg still.
By understanding these differences, you can confidently choose the best ferrule for your keg still design and ensure you have the right materials for a successful build.


Leave a Reply